



Connecting Apps to ClassLink: Step-by-Step Guide
Bring application access, rostering, and classroom support into one coordinated workflow.
This guide separates district responsibilities from teacher actions, then brings both perspectives together for verification. ClassLink configurations and licensed products vary by district, so use your current administrative documentation and vendor requirements when completing a live connection.
Understand the ClassLink Pieces
LaunchPad
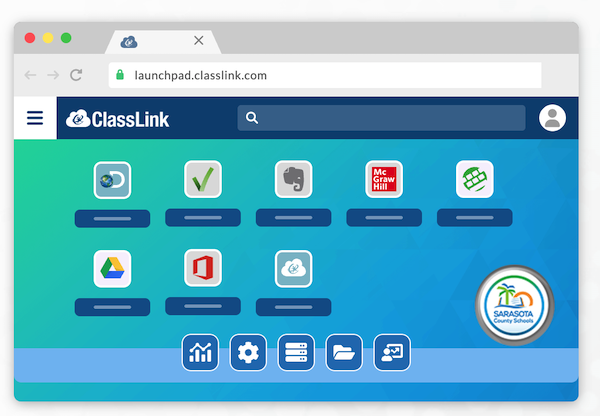
Provides a personalized portal for secure single sign-on access to applications and resources.
Roster Server
Shares approved roster data with application vendors using OneRoster-based processes.
OneSync
Automates account provisioning and reconciliation from district source systems.
My Classes
Helps teachers organize class-specific resources and review student engagement.
Shared-responsibility principle: District teams approve applications, manage identity and roster data, configure access, and establish support. Teachers organize approved resources, test the classroom experience, and report specific problems with enough detail to support a quick resolution.
District Administrator Setup
Start with approval and data governance, then choose the ClassLink services required for access, rostering, or account provisioning.
Confirm the application and implementation model
- Confirm that the application is approved for the intended educational purpose.
- Identify the district application owner and technical contact.
- Determine whether the application needs LaunchPad SSO, Roster Server, OneSync, or a combination.
- Ask the vendor which standards and connection methods it supports.
- Document the intended schools, users, courses, and launch date.
Add and configure application access
Use the district’s ClassLink administrative workflow to locate or create the application connection. Configure the supported authentication method, assign the intended users or groups, and decide when the application should become visible in LaunchPad.
Configure roster sharing when required
For a rostered application, coordinate with the vendor and configure the appropriate connection in Roster Server. Share only the schools, users, courses, enrollments, and fields needed for the approved purpose.
| Decision | Question to answer | Evidence to retain |
|---|---|---|
| Population | Which schools, grades, courses, and roles need access? | Approved scope or license allocation |
| Fields | Which OneRoster fields does the vendor require? | Vendor requirements and privacy review |
| Schedule | How often should data update? | Sync schedule and support expectations |
| Visibility | Who should see the application in LaunchPad? | Rollout and communication plan |
Privacy practice: A technically available field is not automatically an appropriate field to share. Use the minimum data necessary and review optional attributes separately.
Prepare the launch and support path
- Complete a controlled initial synchronization.
- Review errors and unexpected record counts before broad release.
- Identify the district support contact and vendor escalation path.
- Give teachers the application name, expected tile location, intended users, and reporting procedure.
- Schedule a post-launch review.
Teacher Workflow
Teachers can reduce classroom disruption by checking access before instruction, organizing approved resources, and reporting problems precisely.
Confirm your LaunchPad access
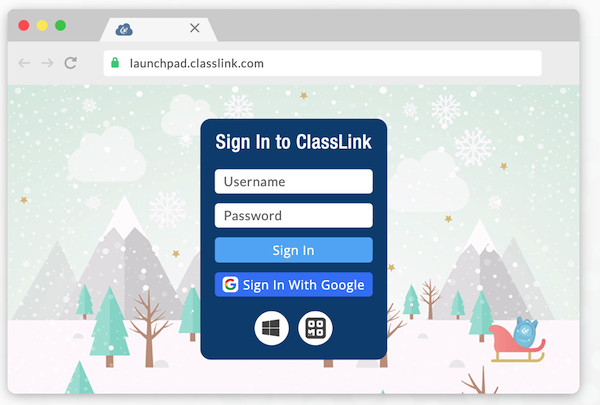
- Use the ClassLink sign-in page provided by your school or district.
- Confirm that you are using your district account—not a personal Google or Microsoft account.
- Find the expected application tile in LaunchPad.
- If the tile is missing, record your school, class, and the exact application name before contacting support.
Organize class-specific resources
When enabled by the district, use My Classes to organize resources for the appropriate class. Keep names clear, remove obsolete links, and place frequently used resources where students can find them quickly.
Test before the lesson
- Open the application from LaunchPad using your district account.
- Confirm that the correct class and current students appear.
- Check the student experience with an approved test account or district-supported preview method.
- Have a district-approved backup activity ready for a time-sensitive lesson.
Report a useful support request
Include the application, class or section, affected user role, approximate time, device and browser, exact error message, and whether the problem affects one user or many. Do not email student passwords or unnecessary student data.
Configure, Verify, and Monitor
Verify the full route from district source data to ClassLink and from LaunchPad to the vendor application.
Data verification
- Source imports complete without unresolved critical errors.
- Expected schools, users, courses, and enrollments are present.
- Shared fields match the approved requirements.
- Removed or changed users are handled appropriately.
Experience verification
- The correct users can see the application tile.
- SSO reaches the intended vendor account.
- Teachers see the correct classes and memberships.
- Students can launch the resource on supported devices.
| Symptom | First check | Next action |
|---|---|---|
| Application tile is missing | User or group assignment and visibility | Confirm the user is in the intended population and the app is enabled. |
| Application opens to the wrong account | SSO identifier and duplicate vendor accounts | Compare district identity attributes with the vendor account. |
| Students or classes are missing | Source data, filters, and roster synchronization | Trace representative records from the SIS through Roster Server. |
| New user cannot access resources | Provisioning and group membership timing | Review OneSync or district account-provisioning status. |
| One class works and another does not | Section-level data and sharing scope | Compare the affected section with a working section. |
Continue monitoring: Recheck integrations after SIS rollover, schedule changes, new terms, major enrollment activity, identity-rule changes, or vendor updates. Use representative teacher and student tests rather than relying only on a successful synchronization status.
Practical Rollout Safeguards
Pilot first
Begin with a controlled population. Validate identity, roster, SSO, and classroom behavior before expanding the connection.
Document ownership
Record the application owner, approved purpose, services used, shared fields, assignments, vendor contact, and review schedule.
Need Current ClassLink Instructions?
ClassLink features, administrative controls, and district configurations can change. Consult the current ClassLink Help Center and your application vendor’s documentation before completing a production connection.
Visit the ClassLink Help Center